
Back in June I shared that I had put aside the Crochet Along blanket that I was working on in order to work on another secret project using these colours.

Clockwise from top left (All Stylecraft Special DK):
Storm Blue, Duck Egg, Silver, Sherbet, Cloud Blue
(After looking at the colours for a while I decided not to include Cloud Blue, the bottom left colour.)
Well, now that the secret project has been gifted I can finally reveal what it was, and I have so been looking forward to sharing it as it is one of my most favourite makes ever. In fact, had it not been for such a special occasion and for such a special couple then I would have been so sorely tempted to keep it for myself and just find another gift instead!
In August my mum and dad celebrated their 40th wedding anniversary and so I wanted to be able to give them something special for it.
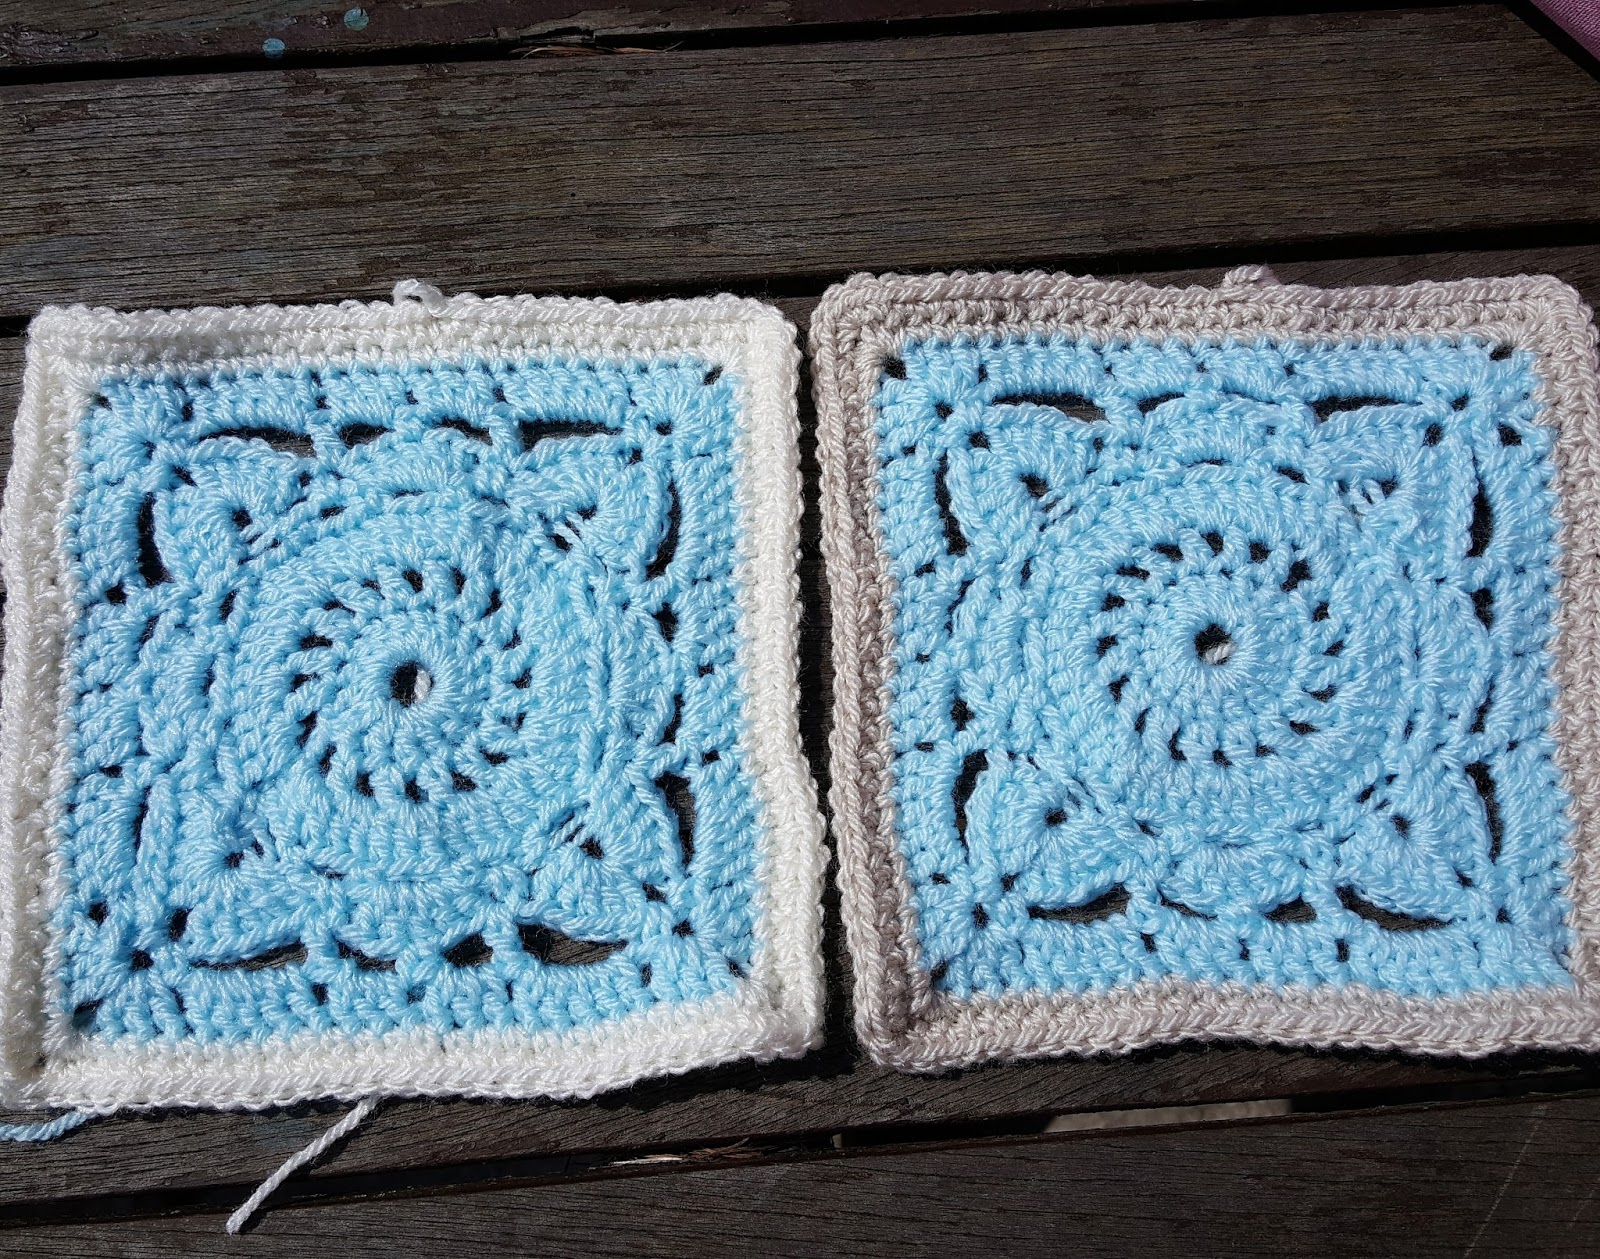
I soon decided on making them a blanket, and in shades of blue so that it would fit in with their bedroom colour scheme. I knew what square I wanted to make as I had always wanted to make something with the Willow Square, which is from the book 200 Crochet Blocks. It's such a pretty square that I knew it would look amazing in a blanket.
At first I thought I would make the blanket using just the one colour, Stylecraft Special DK in Sherbet, and with each square edged in either Cream or Parchment. Since I couldn't decide which of the two colours to use I asked my Instagram friends for their advice and found that they couldn't decide for me either! Opinion was split almost exactly half and half in favour of each colour.
So I put off the border colour choice until joining time came.
Then when I went to the little yarn shop near the boys' school to buy more yarn in the colour I had chosen for the main square colour, I started playing about with adding some other colours in and that's how I ended up with the combination in the first photo. I had a photo of the wallpaper in my mum and dad's bedroom with me, sneakily sent by my youngest brother, and that inspired me to add in the other colours. I'm so glad that I went with that idea now!
The Willow Square is a lovely square to work on. Each round is different and so it never gets boring to make. Because each round is different, it took me about 10 squares to memorise the pattern. Once I had really got the hang of the pattern I decided to time myself and found that it took 20 minutes to do one square.

I started working on the blanket properly in June, and I had worked out that to make the blanket big enough for a double bed I would need 120 squares - 10 across and 12 down. I gave myself the target of 10 squares a week, which would see me finishing off the squares around August time. I also had to leave plenty time for joining and edging the blanket.
The wedding anniversary was in August, but my mum and dad were due to spend a few days down here in September when they returned from their anniversary cruise, so that was the deadline I gave myself to finish off the blanket.
Amazingly, I did actually finish off the squares by the end of August as planned, and the next decision was how to organise the squares.
I've never been very good at random patterns, my brain is a little too OCD and in need of order to be able to just put colours in a random pattern. This was why I had initially thought of making the blanket in one colour. But a quick google search found my perfect solution here - a random granny square generator! It was just what I needed. I made up three different random combinations of the colours and then chose which of these I liked the best.
Once I had laid out my squares in the order suggested, I decided that I loved the colours so much together that I didn't want to border them in cream/parchment after all. My artist boy, James (16), who has an amazing eye for colour, agreed with me so that confirmed it for me!

Next, I bundled up each row and labelled them, ready for joining.

I told you my brain was a little too organised and OCD! I'm not quite sure how it survives living in a houseful of boys!

Don't those colours look gorgeous all mixed up?

To join the squares I just double crocheted (US Single Crochet) them together, right sides together. First of all I joined all the squares horizontally and then I did the vertical joins.

For a border I chose border no 93 from the book Around the Corner, as I had seen it used on other blankets and thought it was the perfect pattern to go with the Willow Squares. I didn't do the final round of the pattern for the border though, as I thought it looked a little too spiky and I preferred the curved look of the second last round.
Finally I just had to sew in all the ends, and then the blanket was done, a couple of days before my mum and dad returned from their cruise!

Now, if you've stuck with me this far then you are probably keen to see the finished result, so without any further chat, here it is. From quite a few angles!


I laid it out on our bed, which is Kingsize so it doesn't quite reach the edges of ours.


I did have a little assistant with me while taking the photos...

The back of the blanket has a raised cream seam between the squares, which I think also looks quite nice, although I prefer the smoothness of the front.


Have you seen enough of it yet?
I haven't, so here's a couple more!


